Translate

Showing posts with label longarm quilting. Show all posts

Monday, June 2, 2014

Don't Miss Out!

Check out my new website at ineedlefabric.com.  Here's my beautiful logo designed by Katie at reddragon233@hotmail.com.


I'll be sharing quilts and fabric creations, tips and tutorials, reviews and how to's.

Maybe you're looking for a longarm quilter or a one-of-a-kind handcrafted gift. You'll be seeing these on the Store page.

Or maybe you're looking for a first time project you want to create yourself. We'll be offering beginner kits and patterns in the future. What would you like to learn about?

Let my fabric obsession become your prized possession! 


Tuesday, April 22, 2014

LAQ#25 Still Learning and Quilting Encouragement

At our LQS sewingroomtucson.com, folks gather monthly to make quilt tops for charity and then have Longarmers volunteer to do the quilting. What a great way to practice your quilting! You can test out different techniques and designs you've been wanting to try and the customer is always happy.

This is only the 25th item I ever did on my Longarm, and I wanted to be brave and try some fancier quilting. So I made a quilting plan to do separate designs in the blocks and inner and outer borders.


I did a wavy paisley “vine” along the large outside border and half feathers in the inner border.

I had recently watched Pam Clarke’s Designs with Lines DVD, homestitches.com and thought this was a perfect quilt to try special designs in each block. (They would probably have looked better if I had chalked some lines using Pam’s stencil, which I bought later.)

Encouragement:
·         You gotta start somewhere or you’re never gonna get better.
·         Nobody was born a perfect longarm quilter!
·        You WILL get better with practice

  • Keep previous quilting samples so you can see your improvement (don't compare your quilting to others)

Ewww, maybe I shouldn’t show you the back, but I'll share my bobbles; everybody bobbles.


Here are the half feathers I quilted on this charity quilt:

And here are half feathers I did on a top about 40 quilted items later:

Hopefully, they look more consistent and like I have better control of the machine! I do get frustrated with my slow progress, especially when I look at the work of Judi Madsen of www.greenfairyquiltsblog.com or Angela Walters at quiltingismytherapy.com. Man, oh man, do they do aMAZing work!!!  (Oh yeah, don't compare your work to others, pout).  But I have to remember that they've done hundreds of quilts, i.e., tons of practice; and I'm not at 100 yet.  Your quilts will always look better after you wash them and put away the magnifying glass! lol.

You just have to keep trying :)


Wednesday, April 16, 2014

Longarm Quilt 27 Tomato Basil: A problem and a question.

For this quilt, I used a pattern called Streakers by black-cat-creations.com. 


I love the colors on this and looking back I seem to use orange in a lot of my quilts – who knew?

Problem: towards the bottom of the quilt I ended up with wrinkles in the back L!

a big wrinkle

I basted down the sides & did stitch in the ditch down all the columns on the entire quilt first, then went back and quilted the details. I used my ruler and extended base to do the SID.  During the detail quilting, as I got towards the right border, I noticed I was getting some pleating in the back. I was able to rip out some but part of it was forming between the rows that were already sewn down by SID. Thankfully, this quilt was for me so some of the wrinkles stayed in; but it was really upsetting and I still don’t know what I did wrong.

I think I left the extended base on while I did the detail quilting. I had used it to do the SID and just left it on. Was the extended base too close to the quilt back & pushing the backing into wrinkles?

Normally I quilt my way across and down the quilt. But if I’m using 2 different threads, I’d like to quilt with 1 color all the way down, roll back to the top and quilt with the next color. Does that increase the chance for wrinkles in the back?

Question: When using a Longarm, what order do you quilt your tops?

I did a different quilting design in each wide column and a wavy line in the skinny rows using So Fine thread in Hawk.

quilting designs from the back
curly leaves and half feathers


a wavy leaf  border
I'd like to use this pattern again with a bolder print broken up by the narrow streaks of color. Fun!


Tuesday, April 8, 2014

Longarm Quilt 29: New quilting techniques


This is a cute panel I got from my local quilt store that is now closed. L  See my post on 3/26; that’s where I took my first quilting class.


Besides taking classes at local shops, I have learned so much about quilting from the internet. I often stay up too late on a work night drooling over all the fantastically creative people who are willing to share their ideas. The net is where I first heard about McTavishing and ordered a couple of Karen’s books, designerquilts.com. I practiced a lot on paper, saw this cute panel and decided it would be a great place to try some McTavishing.


A panel is really a great place to test quilting designs on something useful. They’re usually pretty small so it doesn’t take as much time to complete some intricate quilting; and they make a nice finished piece to give as a gift or to decorate your home. This panel is 24x43.


I also tried out micro stippling and pebbles:


 I love the texture the McTavishing added to the background. One more look:

Great texture!


Tuesday, April 1, 2014

LAQ87 Floating Rectangles Quilt – A Modern Quilting Design

When my friend, Susan, asked me to quilt this, I was excited because I’d been reading Angela Walter’s book, "In the Studio With Angela Walters", on quilting modern quilts (quiltingismytherapy.com)]; and had some ideas I wanted to try.


Planning the Quilting
I took an excellent online class from Carla Barrett at featheredfibers.wordpress.com called Tablet Design Class for Quilters and we used a Bamboo tablet to create a quilting line drawing on top of a quilt photo in Photoshop. By the way, I highly recommend her classes.

Since getting my snazzy cell phone, I’ve recently incorporated Carla’s method for sketching the quilting in the Sketchbook Mobile app on my phone. I can then e-mail the plan(s) to my client so we can agree on the quilting design up front.

Here's where I doodled different ideas:
quilting design ideas

Then I settled on 2 different plans; a fancy allover (a lot of modern quilts have allover straight or curvy lines) or a semi custom (different designs in separate areas of the quilt).
allover quilting design
allover

semi-custom quilting design
semi custom

This way Susan could see the difference and decide which she liked the best. It’s easier to spend the extra money for custom quilting when you can compare the two results up front.

We went with the semi-custom, and I’m really glad because it enhances the modern feel of the quilt. I quilted random-sized pebbles in the background:


an oval meander in the rectangles and a straight line just outside the skinny strips to separate and bring them forward:

Details
·         Size - 58x59
·         Thread - Omni black walnut and Omni mahogany; So Fine buffalo in the bobbin
·         Batting- Hobbs black 80/20
·         Backing - same as the background fabric

Strategy
·         Used Omni thread which is thicker than So Fine so the quilting showed a little more.
·         Used So Fine in the bobbin – waaaayy less bobbin changes and the color worked with both top threads.
·         Loaded the quilt so the rectangles ran parallel to the Longarm table. Then I could quilt across the background, change the      thread and quilt inside a row of rectangles, change thread and quilt more background, roll the quilt and repeat.

Thanks to Susan for letting me quilt her cool modern quilt top. ;)  I love this quilt!

Wednesday, March 26, 2014

My very first quilt & a sad goodbye

This is a picture of the first quilt I ever made along with a couple of close ups.

My friend and I took a class at our local quilt store, Bella Quiltworks. It's fitting that I post about it today, because they are closing for good this Saturday.  :(

Joelee, the owner, taught that beginning class. She's retiring and we'll really miss seeing her and the great ladies who worked there. It was a fantastic place to escape to on our lunch hour!

I machine quilted this on my Viking Sapphire with King Tut variegated thread. I used a stencil to mark a cable design in the border. This was my first step towards the wonderful longarm machine I have today!

Tuesday, March 4, 2014

Longarm Quilt #80 Purple Aurora – how to "fancy quilt" with no stops


I did some fancy quilting on this quilt for my friend.


Because there were big areas of solid fabrics, I wanted to do something fancy; and since it was so big, I wanted a design where I could work my way across the quilt without any stops and starts. When you have lots of stops and starts in your designs, it takes longer to quilt and you have to be careful about taking tiny stitches at the beginning and end of each design so the threads don't come loose. (Or you have to bury your thread tails - shudder)

Time to break out the quilting books for ideas and my big piece of acrylic and the dry erase markers. I came up with several designs, then laid the acrylic on top of the quilt to see if I could travel from one design to the next easily.

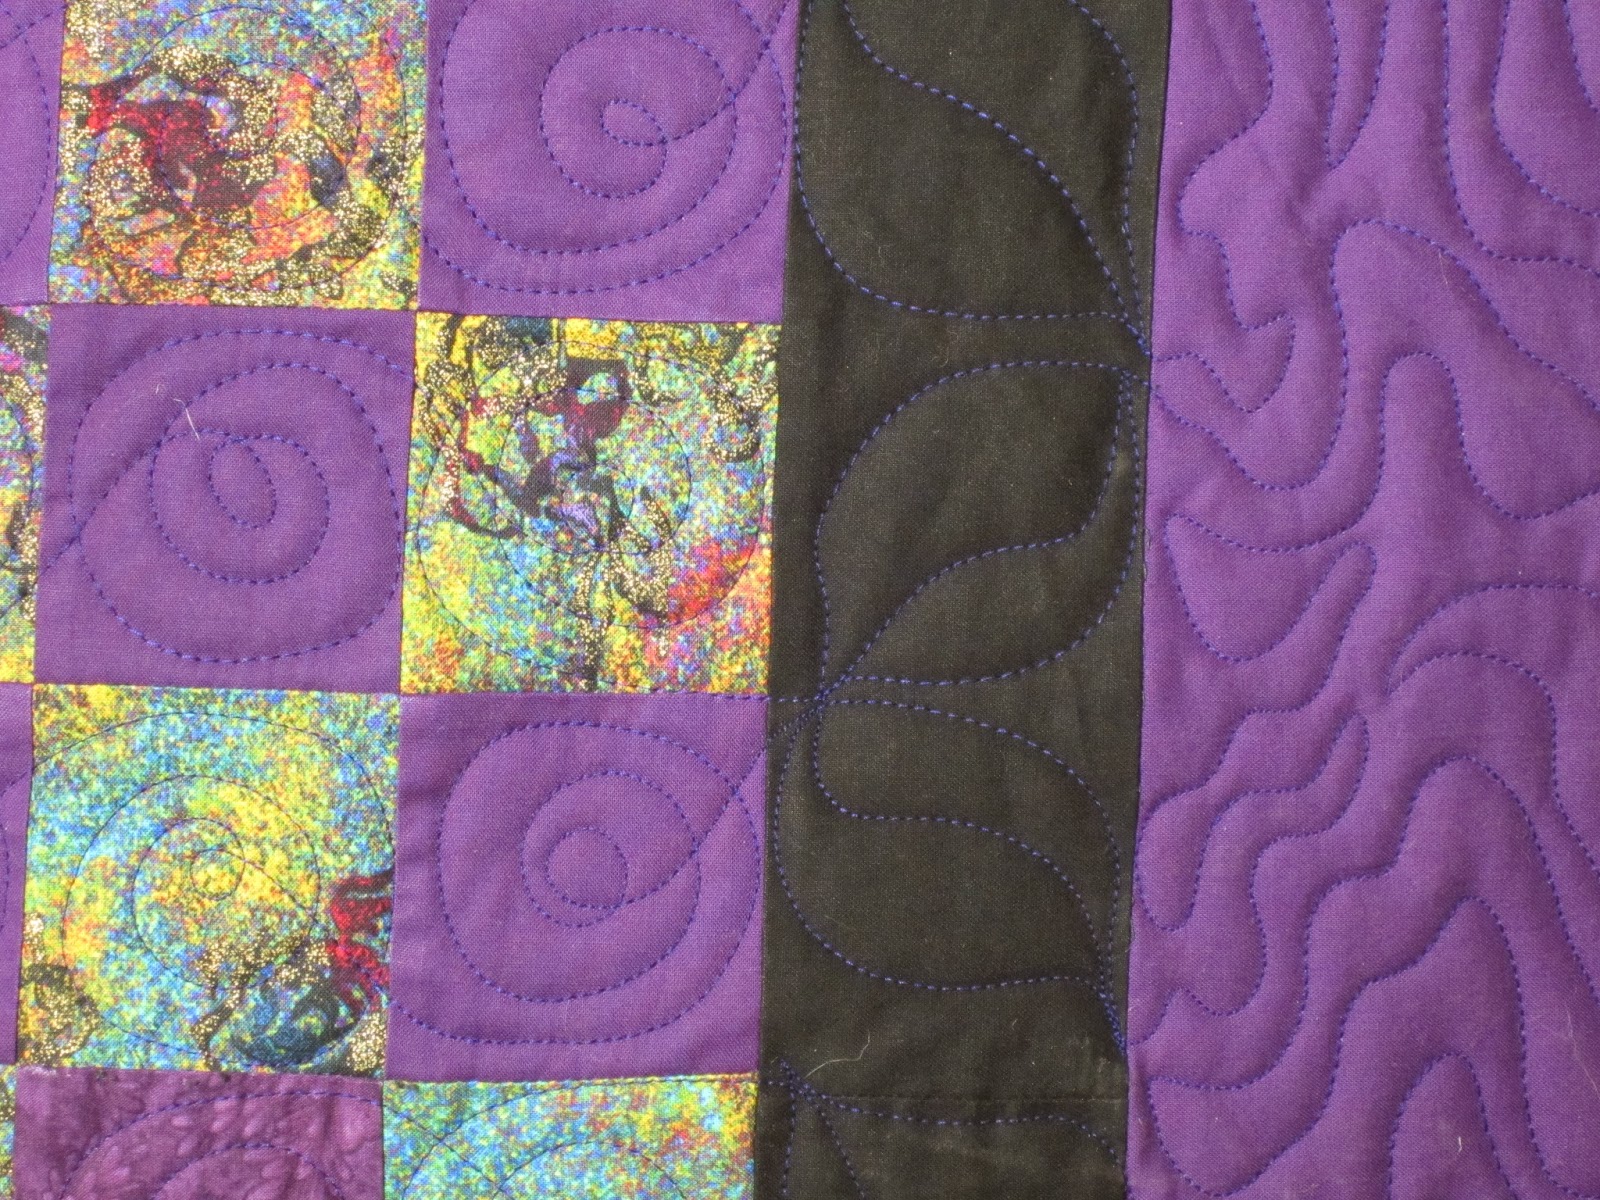
Close up so you can see how I traveled across the quilt.
I knew I could use the patchwork section as a guideline for quilting, so I did a loopy circle in each patch and then quilted big leaf shapes with veins for traveling in the black sashing.

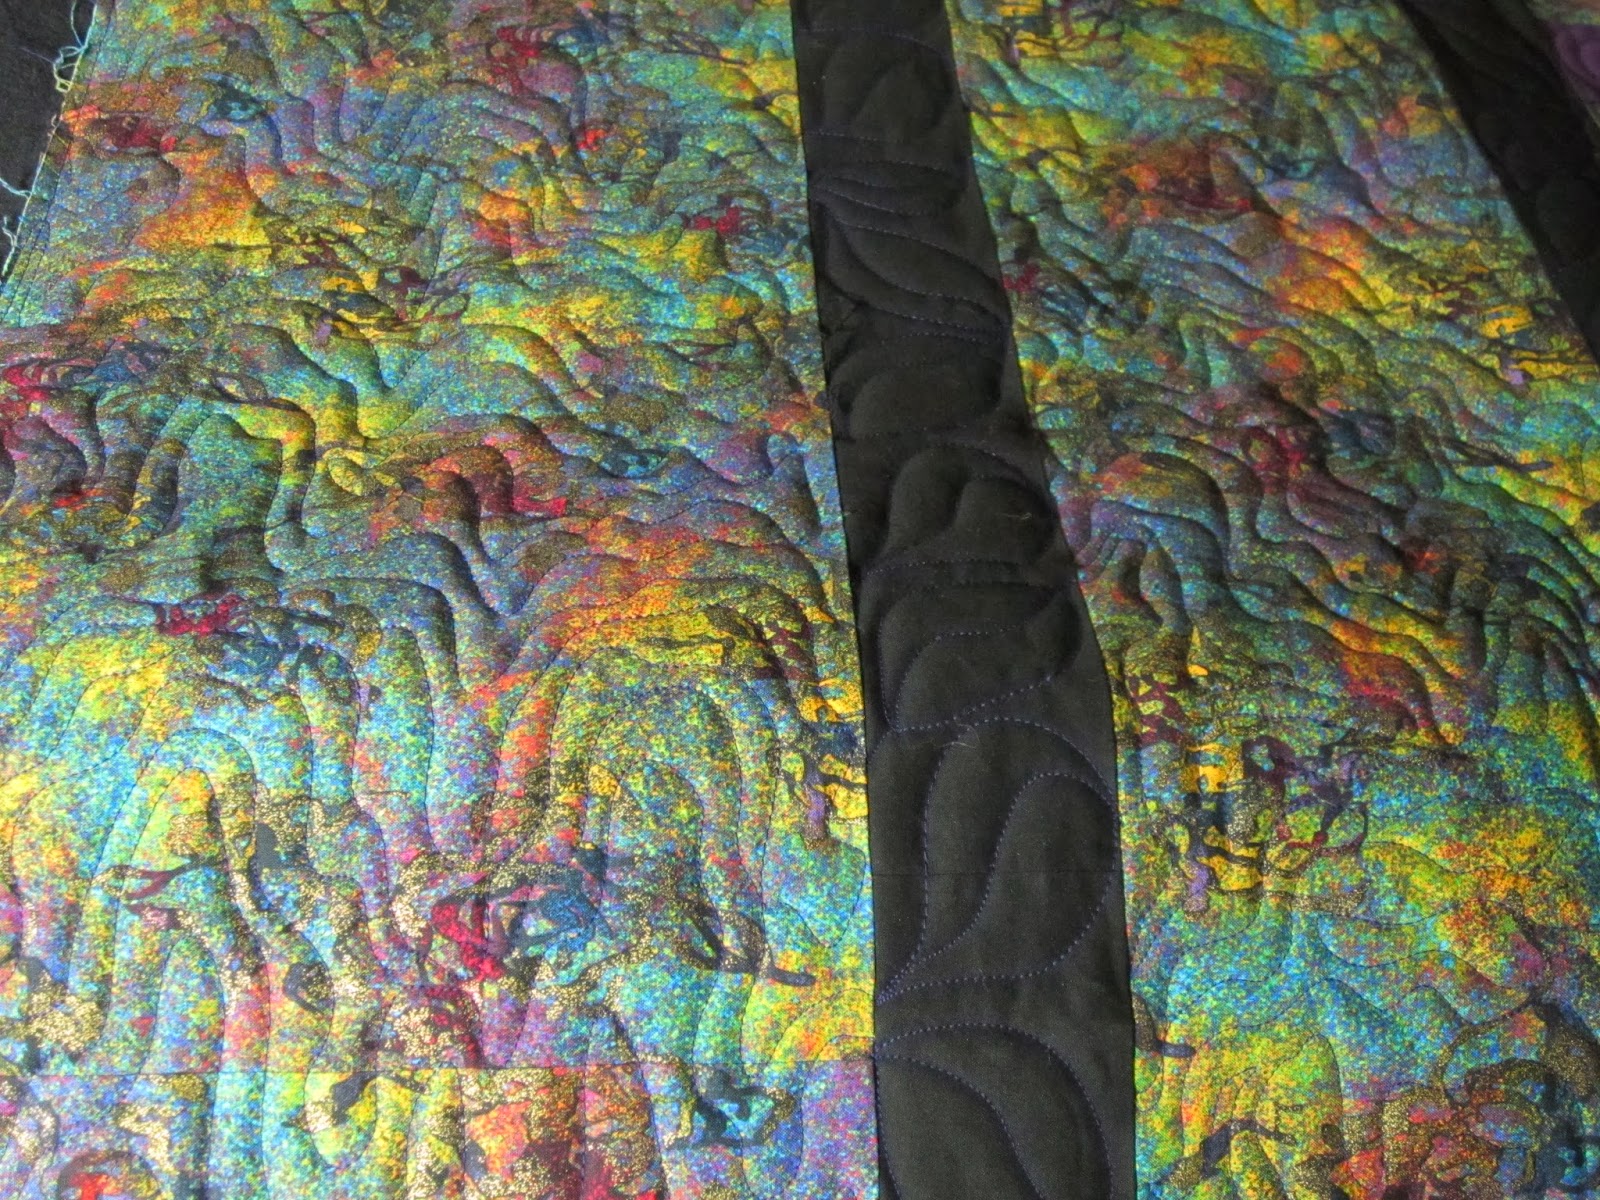
I had recently seen the Dwirling design on the Pajama Quilter's DVD and thought that would add some cool texture to the big areas. It reminds me of a topo map.

Isn't this fabric gorgeous!
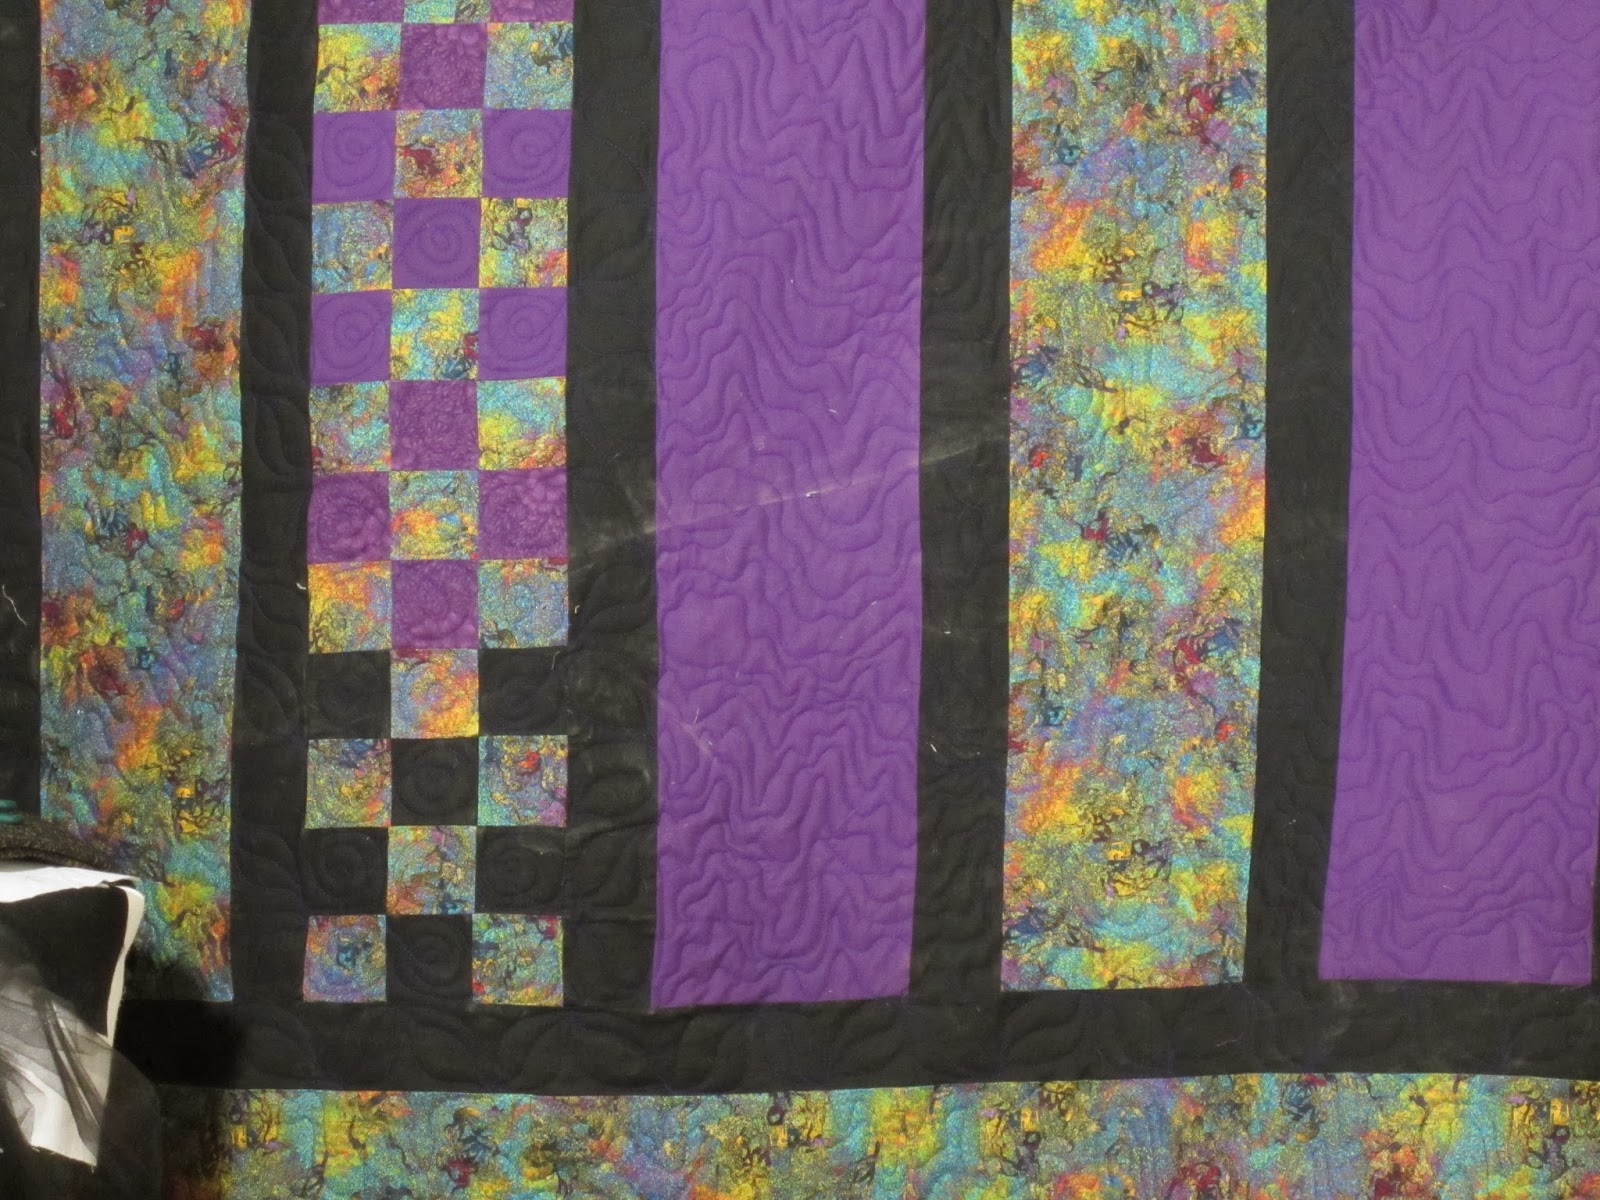
One corner of the quilt
I used Superior Omni thread in Jewel and So Fine in Amethyst in the bobbin and black 80/20 batting. I'm pretty happy with how this turned out.


Thursday, February 20, 2014

Way back: Longarm quilt #2 - This One's For Daniel

This is the very first quilt I did on my Longarm for someone. It was for my first grandson – a shower gift before he was even born!

Somehow, I only got one picture of it. :( 

When I got my longarm, I practiced on muslin, then I did a panel that I call “Is there something to do?” that I blogged about back in August.


Danny's quilt is also the first pantograph I ever did. A pantograph is a quilting design that's drawn out repeatedly on a really long roll of paper that sits on a shelf at the back of the longarm machine. You look at the paper and use a laser light attached to the top of the machine to trace the design. As you move the machine, it sews the design on the quilt. Maybe I should add a picture of the setup, huh?

The panto I used for this quilt is called double bubble and I had trouble doing nice round shapes. It makes me so nervous trying to trace the panto that I don’t do them often.

I also prefer to quilt from the front so I can see what’s going on with the quilt. You can get a little off on the panto as you’re moving across the quilt and you’ll have overlap (yes, I’ve had this happen).

This was a kit that I bought from my LQS thequiltersmarket.com . The small faux 4-patch pieces were blanket stitched on with a variegated thread. Overall, I think it turned out cute.

TIP: A different way to use pantos - Trace around a panto design many, many, many times to get muscle memory and then do the design freehand. This seems to work much better for me. I talk about this next time!

Wednesday, February 12, 2014

Longarm quilt #85: Warren's Flag - a beautiful collaboration

I gave you a sneak peak of this quilt in progress back on 8/31/13 - when it looked like this:
August 31
Originally my deadline to finish the quilt was January 2014, but my DH wanted to give it to his friend early so it changed to October 26 – aeeeiiii! But I got it done in time.
September 22
I’m really proud of our collaboration. Hubby picked a flag picture that he liked, then I enlarged it and traced the giant pieces onto freezer paper (that was back in June 2013).

I wanted to try curved piecing for this (a first) and it worked fairly well, but there were some tricky areas.  I’d probably just do raw edge appliqué next time because of the steep curves. DH also came up with the idea of the Vietnam service ribbon for the borders. The white stars are fused raw edge appliqué and the star corners are appliqué machine embroidery. After it was bound, I added gold cording all around the edge. (helpful hint: preshrink any trims!)
Piecing the border & embroidering the corner stars

Before quilting
Warren was a helicopter gunner in Vietnam so DH drew the helicopter that I used for the quilting. I moved my laser light to the front of the longarm, pinned the drawing on the quilt to the right of the machine head and moved it across the top as I quilted each helicopter.

I was really unsure of thread color and used Omni Light Sage with a matching So Fine Bobbin. I did SID on all the flag pieces and around the stars so there’s a lot of backtracking on the back. A tan backing might have been better.


Here's the back showing the helicopter quilting
What do you think? Different backing or different thread??
What I’d do different: raw edge appliqué for steep curves, red bias tape instead of tiny piecing on borders. A different thread color or a different backing color.


Overall, I’m very proud and happy with this quilt and want to do more flags in the future. I’ve done several Quilts of Valor qovf.org in the past and this would be a fun project for this wonderful organization. 

Wednesday, February 5, 2014

Longarm Quilt #89 Wind in the Leaves - what I'd change & a mystery

Every quilt is a learning process – which thread is best, which quilting design works, a new process like appliqué on the Longarm (see my 9/17/13 blog about Tootie Fruitie - A fun project on the longarm).

This is a quilt I finished over the Thanksgiving holiday in my favorite colors – fall colors. The pattern is a real simple one that I made on up my design wall and you can see the Before is kind of boring:


But I planned it that way. (tip: that’s what you ALWAYS say when it didn’t work or there’s a boo boo!).  Actually, I really did plan it this way; I wanted to use solids to accent the quilting (another first). I used Superior Rainbow variegated thread in Autumn Leaves – the perfect thread for this project:


What I’d change: I wish I had continued the swirl quilting all the way across each row of blocks instead of breaking it up with the figure 8’s. Sometimes you use the piecing as a quilting guideline and sometimes, you should just IGNORE it!


A mystery: My top was square, but I had problems with a pucker in the backing toward the bottom right side which I had to rip out. I used a beautiful purple minkee backing which I know is slippy, but I’ve used minkee before with no problem.


I used cotton/poly Legacy batting which seems more slippery than my usual Hobbs 80/20, so maybe that contributed to the problem.  Maybe I should have done stitch in the ditch (SID) first. Do you always SID if you’re doing different quilting in the blocks and sashing???


Anyhoo, this is my car quilt and I’m pretty happy with it.  Oh, don’t you just LOVE that red/orange binding with the purple backing?  Ahhhhh~


Wednesday, January 29, 2014

Longarm Quilt #62 - When variegated thread is perfect!

This is a really fun 1-piece (I guess that qualifies as a wholecloth) top that made up quickly into a super cute baby quilt. Just popped the 42x52 piece of fabric on the longarm with batting and backing and started quilting.


I used King Tut variegated in Cleopatra on top. See, isn't it perfect? It has all the bright colors of the quilt!:

I used So Fine Ferrari in the bobbin. Ferrari is this bright neon green that I seem to use a lot! I freehand quilted it with a design I call palm frondish - it kinda reminds me of palm branches and is sort of jungley (I'm sure that's a word) like the African animals. I get a lot of quilting ideas from books and this one is from Dawn Ramirez, Pajama Quilter. She has such a friendly, relaxed way of teaching that it just helps a nervous, new longarmer feel more confident. thanks Dawn!

Sometimes it's hard to tell where the quilting lines go, so here's a sketch on top of the photo to give you an idea:

It's such a great allover design cause it's so easy to meander around, fill in all the tiny places and change direction easily. In this pic, you can see how the thread color changes look on the quilt:


I tried to angle the light so you can see the texture of the quilting:
Of course, I had to use more brightness on the back - a blue with crazy green dots.
That's a lot of pictures, but it's such a fun, happy quilt; maybe it will bring a smile to your day.