Translate

Tuesday, April 8, 2014

Longarm Quilt 29: New quilting techniques


This is a cute panel I got from my local quilt store that is now closed. L  See my post on 3/26; that’s where I took my first quilting class.


Besides taking classes at local shops, I have learned so much about quilting from the internet. I often stay up too late on a work night drooling over all the fantastically creative people who are willing to share their ideas. The net is where I first heard about McTavishing and ordered a couple of Karen’s books, designerquilts.com. I practiced a lot on paper, saw this cute panel and decided it would be a great place to try some McTavishing.


A panel is really a great place to test quilting designs on something useful. They’re usually pretty small so it doesn’t take as much time to complete some intricate quilting; and they make a nice finished piece to give as a gift or to decorate your home. This panel is 24x43.


I also tried out micro stippling and pebbles:


 I love the texture the McTavishing added to the background. One more look:

Great texture!


Tuesday, April 1, 2014

LAQ87 Floating Rectangles Quilt – A Modern Quilting Design

When my friend, Susan, asked me to quilt this, I was excited because I’d been reading Angela Walter’s book, "In the Studio With Angela Walters", on quilting modern quilts (quiltingismytherapy.com)]; and had some ideas I wanted to try.


Planning the Quilting
I took an excellent online class from Carla Barrett at featheredfibers.wordpress.com called Tablet Design Class for Quilters and we used a Bamboo tablet to create a quilting line drawing on top of a quilt photo in Photoshop. By the way, I highly recommend her classes.

Since getting my snazzy cell phone, I’ve recently incorporated Carla’s method for sketching the quilting in the Sketchbook Mobile app on my phone. I can then e-mail the plan(s) to my client so we can agree on the quilting design up front.

Here's where I doodled different ideas:
quilting design ideas

Then I settled on 2 different plans; a fancy allover (a lot of modern quilts have allover straight or curvy lines) or a semi custom (different designs in separate areas of the quilt).
allover quilting design
allover

semi-custom quilting design
semi custom

This way Susan could see the difference and decide which she liked the best. It’s easier to spend the extra money for custom quilting when you can compare the two results up front.

We went with the semi-custom, and I’m really glad because it enhances the modern feel of the quilt. I quilted random-sized pebbles in the background:


an oval meander in the rectangles and a straight line just outside the skinny strips to separate and bring them forward:

Details
·         Size - 58x59
·         Thread - Omni black walnut and Omni mahogany; So Fine buffalo in the bobbin
·         Batting- Hobbs black 80/20
·         Backing - same as the background fabric

Strategy
·         Used Omni thread which is thicker than So Fine so the quilting showed a little more.
·         Used So Fine in the bobbin – waaaayy less bobbin changes and the color worked with both top threads.
·         Loaded the quilt so the rectangles ran parallel to the Longarm table. Then I could quilt across the background, change the      thread and quilt inside a row of rectangles, change thread and quilt more background, roll the quilt and repeat.

Thanks to Susan for letting me quilt her cool modern quilt top. ;)  I love this quilt!

Wednesday, March 26, 2014

My very first quilt & a sad goodbye

This is a picture of the first quilt I ever made along with a couple of close ups.

My friend and I took a class at our local quilt store, Bella Quiltworks. It's fitting that I post about it today, because they are closing for good this Saturday.  :(

Joelee, the owner, taught that beginning class. She's retiring and we'll really miss seeing her and the great ladies who worked there. It was a fantastic place to escape to on our lunch hour!

I machine quilted this on my Viking Sapphire with King Tut variegated thread. I used a stencil to mark a cable design in the border. This was my first step towards the wonderful longarm machine I have today!

Tuesday, March 18, 2014

Some more machine embroidery

I had the brilly idea that instead a buying a paper calendar this year, I would use a dry erase calendar board and make little quiltlets (ooh, that's a cool word) or wall hangings to be the picture above the board. So far, the first three months feature machine embroidery, which goes along with the theme I started last week; so I'll share them with you today.

January!
This is machine embroidery applique from Anita Goodesign. I was actually prepared ahead of time for January so was able to do this more involved design. I used metallic thread for the lines in the snow and I tried everything to get it to quit breaking, but wasn't very successful. Good thing there wasn't much stitching in that part! I do love how this one turned out.

February
You can probably tell that I waited until the last minute to do February, but it's still cute. This is a nice design from Embroidery Library. When using quilter's cotton fabric, the embroidery turns out much better if there's batting behind it while the stitching happens. Notice the puckering even though I used cutaway stabilizer. I was kinda bummed about that, but didn't have time to redo it  :(

March!
I did March on Sunday before going back to work on March 3, so again a bit last minute. But I had this one figured out ahead of time. This is also from Embroidery Library and done on white felt. I found out that's what they use for all the stitch-outs on their website. No puckering - yeah! I cut the felt into an oval after embroidering and stitched it to a quilt sandwich (the green fabric, batting & backing fabric). I did some light machine quilting on the "sandwich" before adding the oval. The green ric rac covered the edges of the oval nicely. 

I got the wire hanger at a quilt show and it comes apart so I can easily switch to the next month's quiltlet. 

Oh, and have you ever sewn the hanging sleeve on using the hemmer foot on your sewing machine? It's SO easy! I hate hand sewing so this is a great technique that makes me very happy. I learned about it in a class at Cathey's Sewing & Vacuum catheys.com, which is where I got my new embroidery machine. I'll try to get some how-to photos of the hanging sleeve for April. (Uh, oh, better get started on April's quiltlet!)


Thursday, March 13, 2014

Wifi problems; now I'm late - but cool machine embroidery

Bah, my wifi was down last night so I couldn't do a new posting. It kept saying, "Your internet is unstable" - what does that mean???

Anywhooo, let's take a break from longarm quilting an talk about machine embroidery.

Isn't this darling?!!

Machine Embroidery Applique

I love machine embroidery; it's like magic!  I bought some lounge pants and matching jacket for my MIL and fancied them up.

Before :(
and.......
Much better ;)
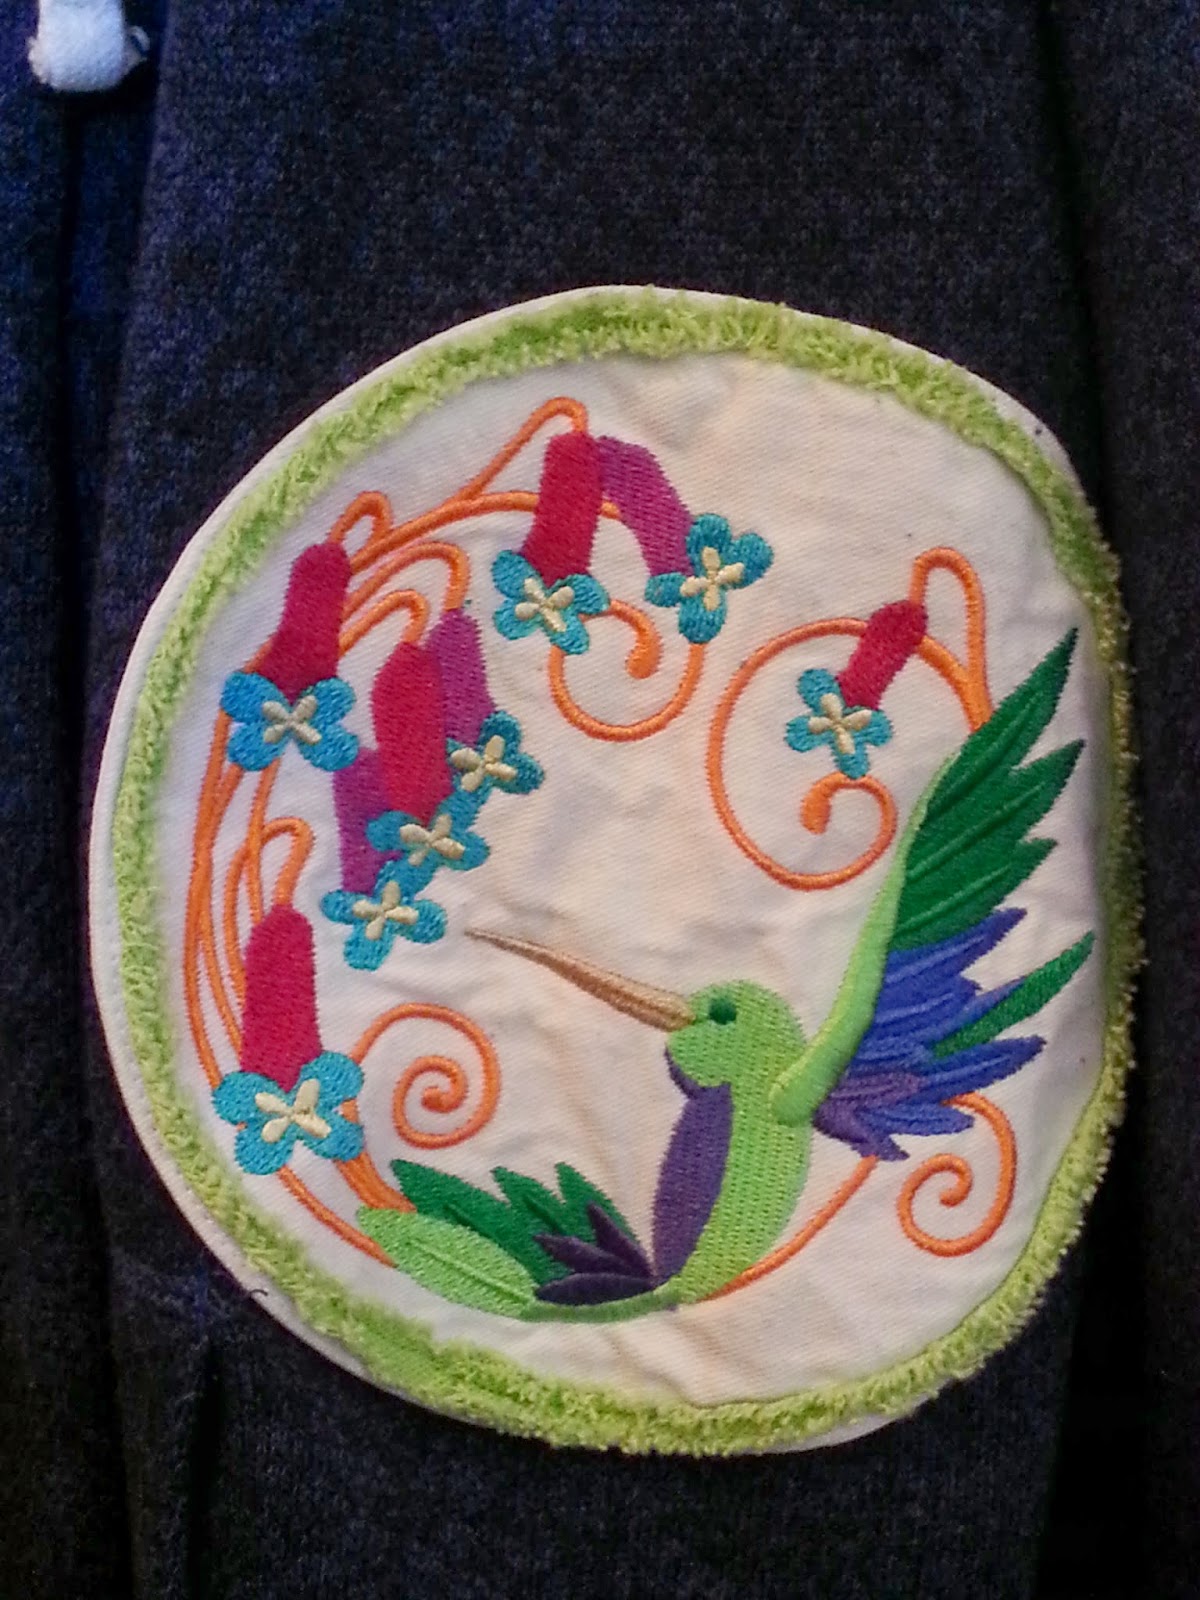
I was afraid to embroidery right on the jacket so did it on lightweight duck cloth and attached the circle medallions to the front of the jacket. I added bias chenille trim that I got at our local quilt show.


Then I got brave and hooped the jacket to do the design on the back. It worked perfectly!

If I'm remembering correctly, the 2 front designs are from Embroidery Library at emblibrary.com. I love their website; they have tons of great tutorials, projects and ideas! The super cute design on the back is from The Anita Goodesign collection called Home Tweet Home anitagoodesignonline.com. When I traded up for my new embroidery machine, I got a free year of the Anita Goodesign monthly club - like Christmas every month!

Maybe next time I should talk about my experience with 2 different brands of embroidery machine - a product review.  Would that be interesting or helpful?

Hm, I really do need to do some more machine embroidery applique - too cute!!

Tuesday, March 4, 2014

Longarm Quilt #80 Purple Aurora – how to "fancy quilt" with no stops


I did some fancy quilting on this quilt for my friend.


Because there were big areas of solid fabrics, I wanted to do something fancy; and since it was so big, I wanted a design where I could work my way across the quilt without any stops and starts. When you have lots of stops and starts in your designs, it takes longer to quilt and you have to be careful about taking tiny stitches at the beginning and end of each design so the threads don't come loose. (Or you have to bury your thread tails - shudder)

Time to break out the quilting books for ideas and my big piece of acrylic and the dry erase markers. I came up with several designs, then laid the acrylic on top of the quilt to see if I could travel from one design to the next easily.

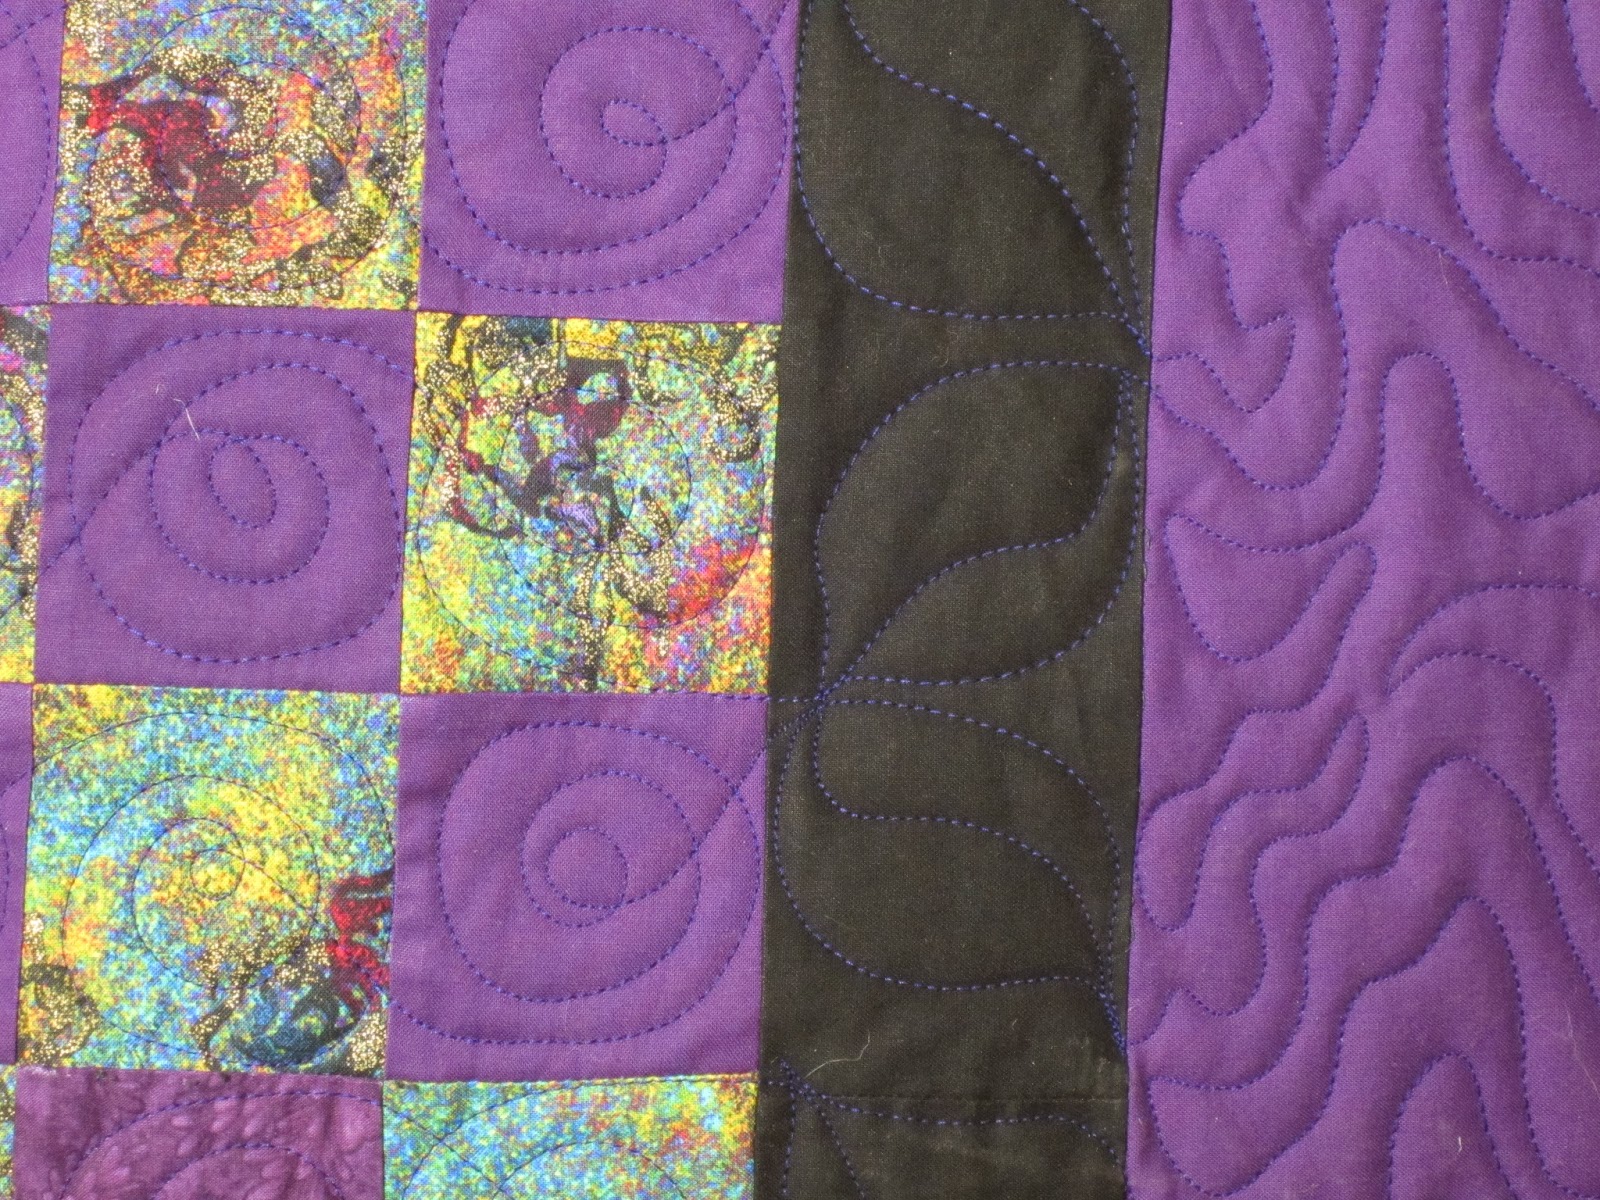
Close up so you can see how I traveled across the quilt.
I knew I could use the patchwork section as a guideline for quilting, so I did a loopy circle in each patch and then quilted big leaf shapes with veins for traveling in the black sashing.

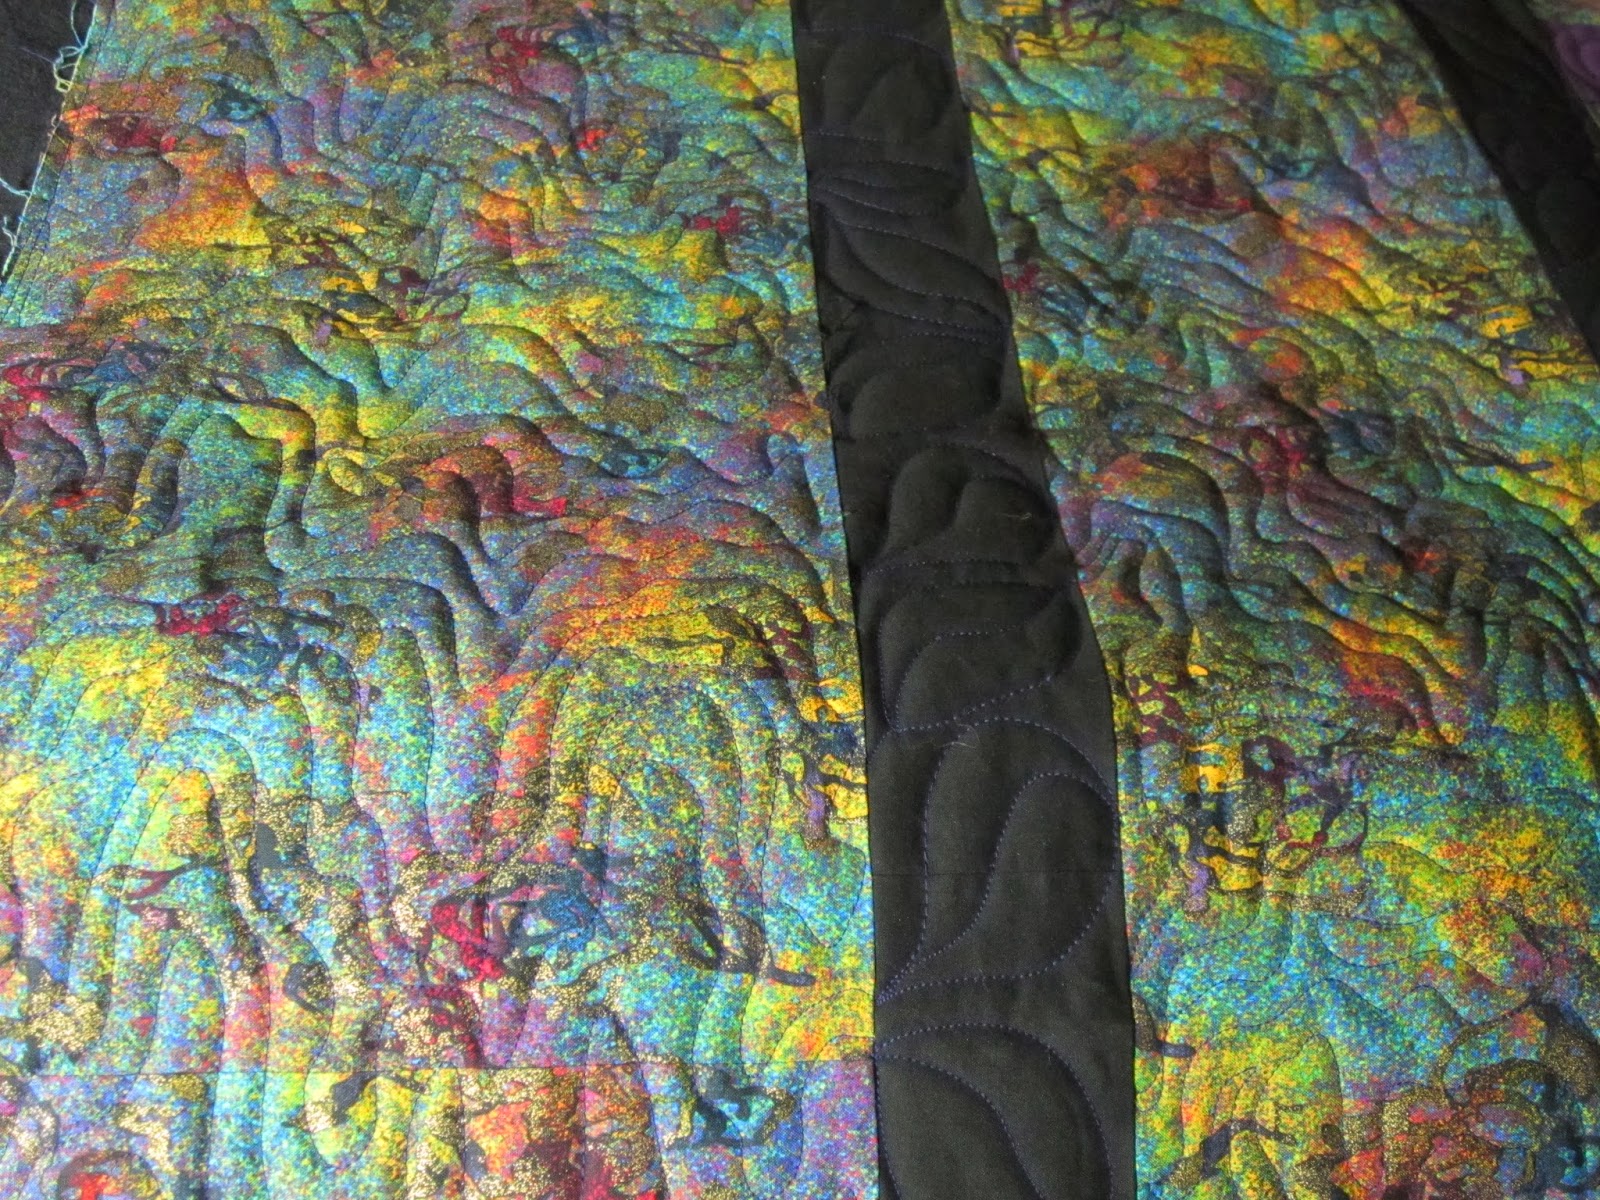
I had recently seen the Dwirling design on the Pajama Quilter's DVD and thought that would add some cool texture to the big areas. It reminds me of a topo map.

Isn't this fabric gorgeous!
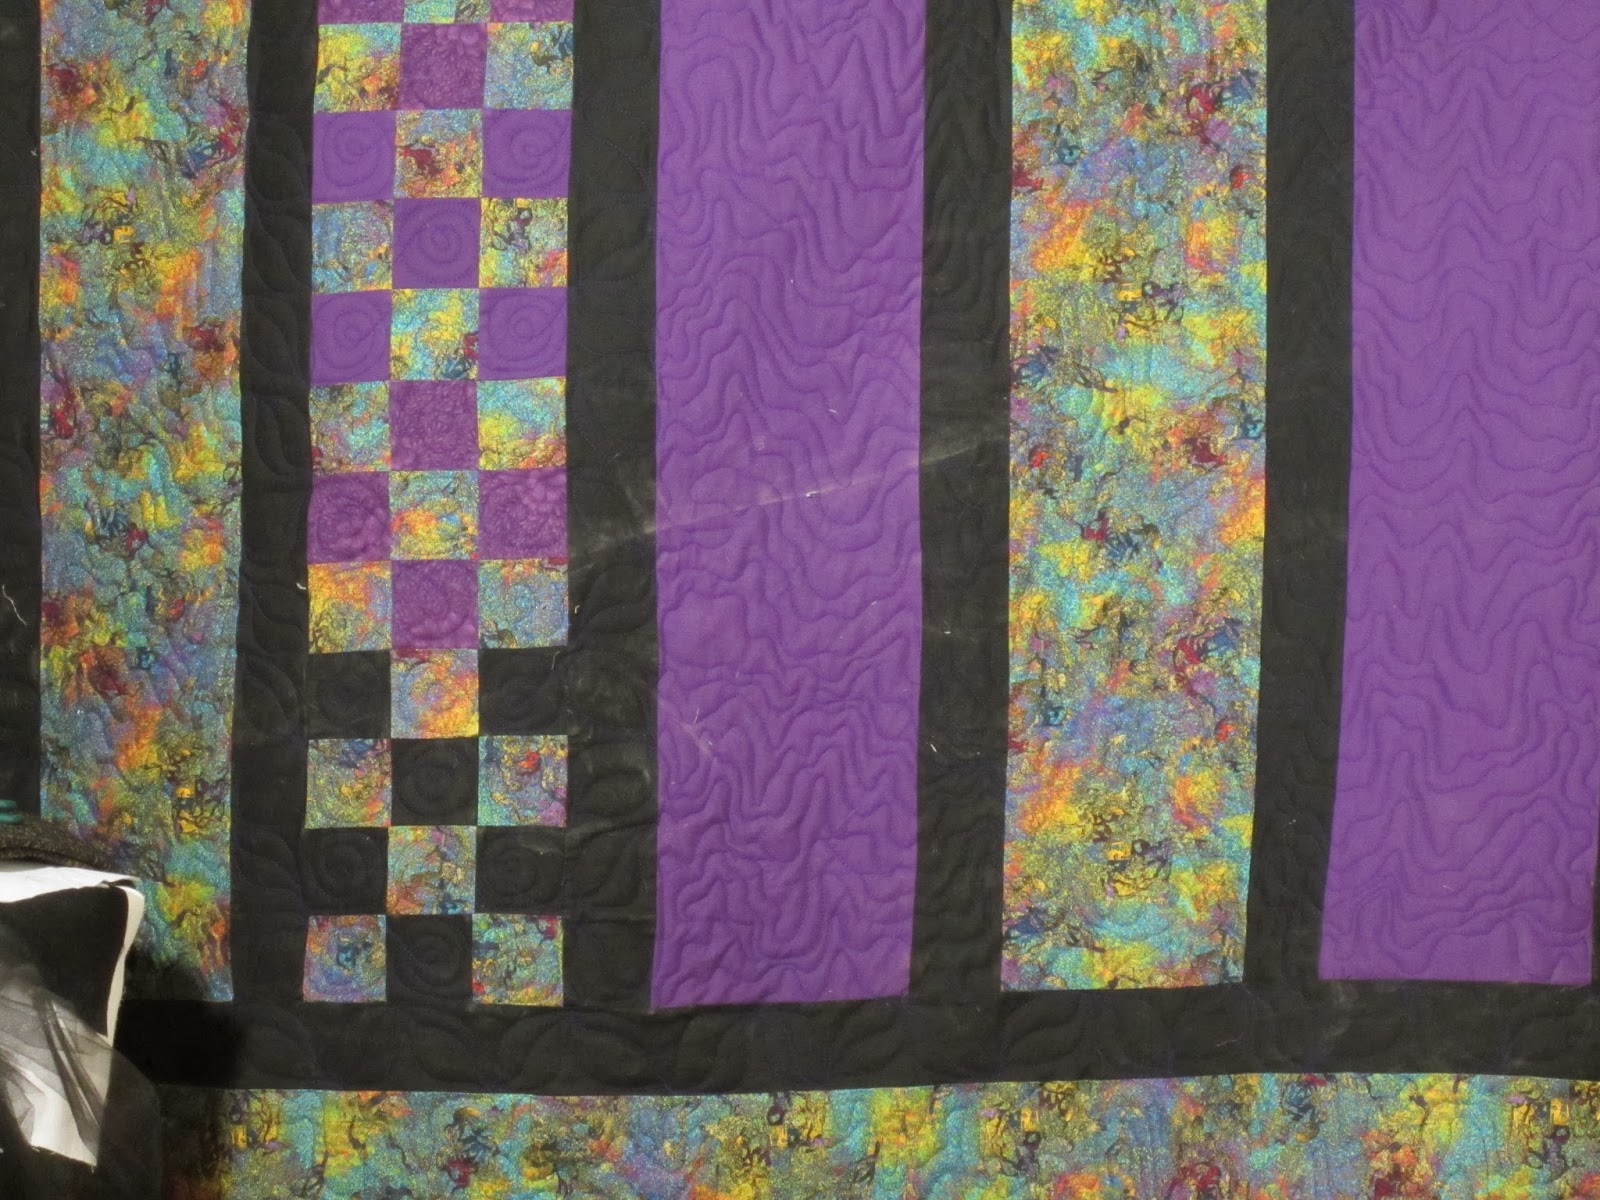
One corner of the quilt
I used Superior Omni thread in Jewel and So Fine in Amethyst in the bobbin and black 80/20 batting. I'm pretty happy with how this turned out.


Wednesday, February 26, 2014

Longarm Quilt #35 Autumn Wedding Quilt – using a panto for free motion & other firsts

My friend, Susan, had me quilt this as a wedding gift for a relative so I was REALLY nervous.  But, of course, I had to incorporate a lot of firsts - making a stencil, using pounce chalk and learning a freehand design from a panto.

It’s a small quilt using the Potato Chip pattern from our LQS, thequiltersmarket.com. I wanted some fancy custom quilting since it was for a wedding. I used a really pretty stencil from Urban Elementz called Dusty Miller for the plain blocks because I knew it would really show.


I knew the quilting wouldn’t show much in the blocks with the print fabric so I found a simpler design in my Quilting Dot to Dot book from goldenthreads.com by Cheryl Barnes. I drew the design onto stencil plastic and cut it out with a stencil burner.

The Homemade Stencil Block
The Back


I used the Aloha sashing pantograph, also from urbanelementz.com for the borders. So I used 3 different designs that had a similar "feeling". 

I didn’t want to turn the quilt to line up the panto, but I thought I could get the design into my muscle memory and quilt it freehand. I used my trusty plexiglass on top of the panto and traced over and over (and over) with a dry erase marker. (For more details about this technique, see my 8/26/13 posting.) Then I drew it on plain paper until it was in my head and it worked!

The freehand sashing!


A view of the back
I still remember taking a deep breath before quilting every block! But looking back, I'm really happy with how it turned out.