When my friend,
Susan, asked me to quilt this, I was excited because I’d been reading Angela
Walter’s book, "In the Studio With Angela Walters", on quilting modern quilts (quiltingismytherapy.com)]; and had some ideas I
wanted to try.
Planning the Quilting
I took an
excellent online class from Carla Barrett at featheredfibers.wordpress.com called Tablet Design Class for Quilters and we used a Bamboo tablet to create a
quilting line drawing on top of a quilt photo in Photoshop. By the way, I highly
recommend her classes.
Since
getting my snazzy cell phone, I’ve recently incorporated Carla’s method for
sketching the quilting in the Sketchbook Mobile app on my phone. I can
then e-mail the plan(s) to my client so we can agree on the quilting design up
front.
Here's where I doodled different ideas:
Then I settled on 2 different plans; a fancy allover (a lot of modern quilts have allover straight or curvy lines) or a semi custom (different designs in separate areas of the quilt).
 |
| allover |
 |
| semi custom |
This way Susan could see the difference and decide which she liked the best. It’s easier to
spend the extra money for custom quilting when you can compare the two results
up front.
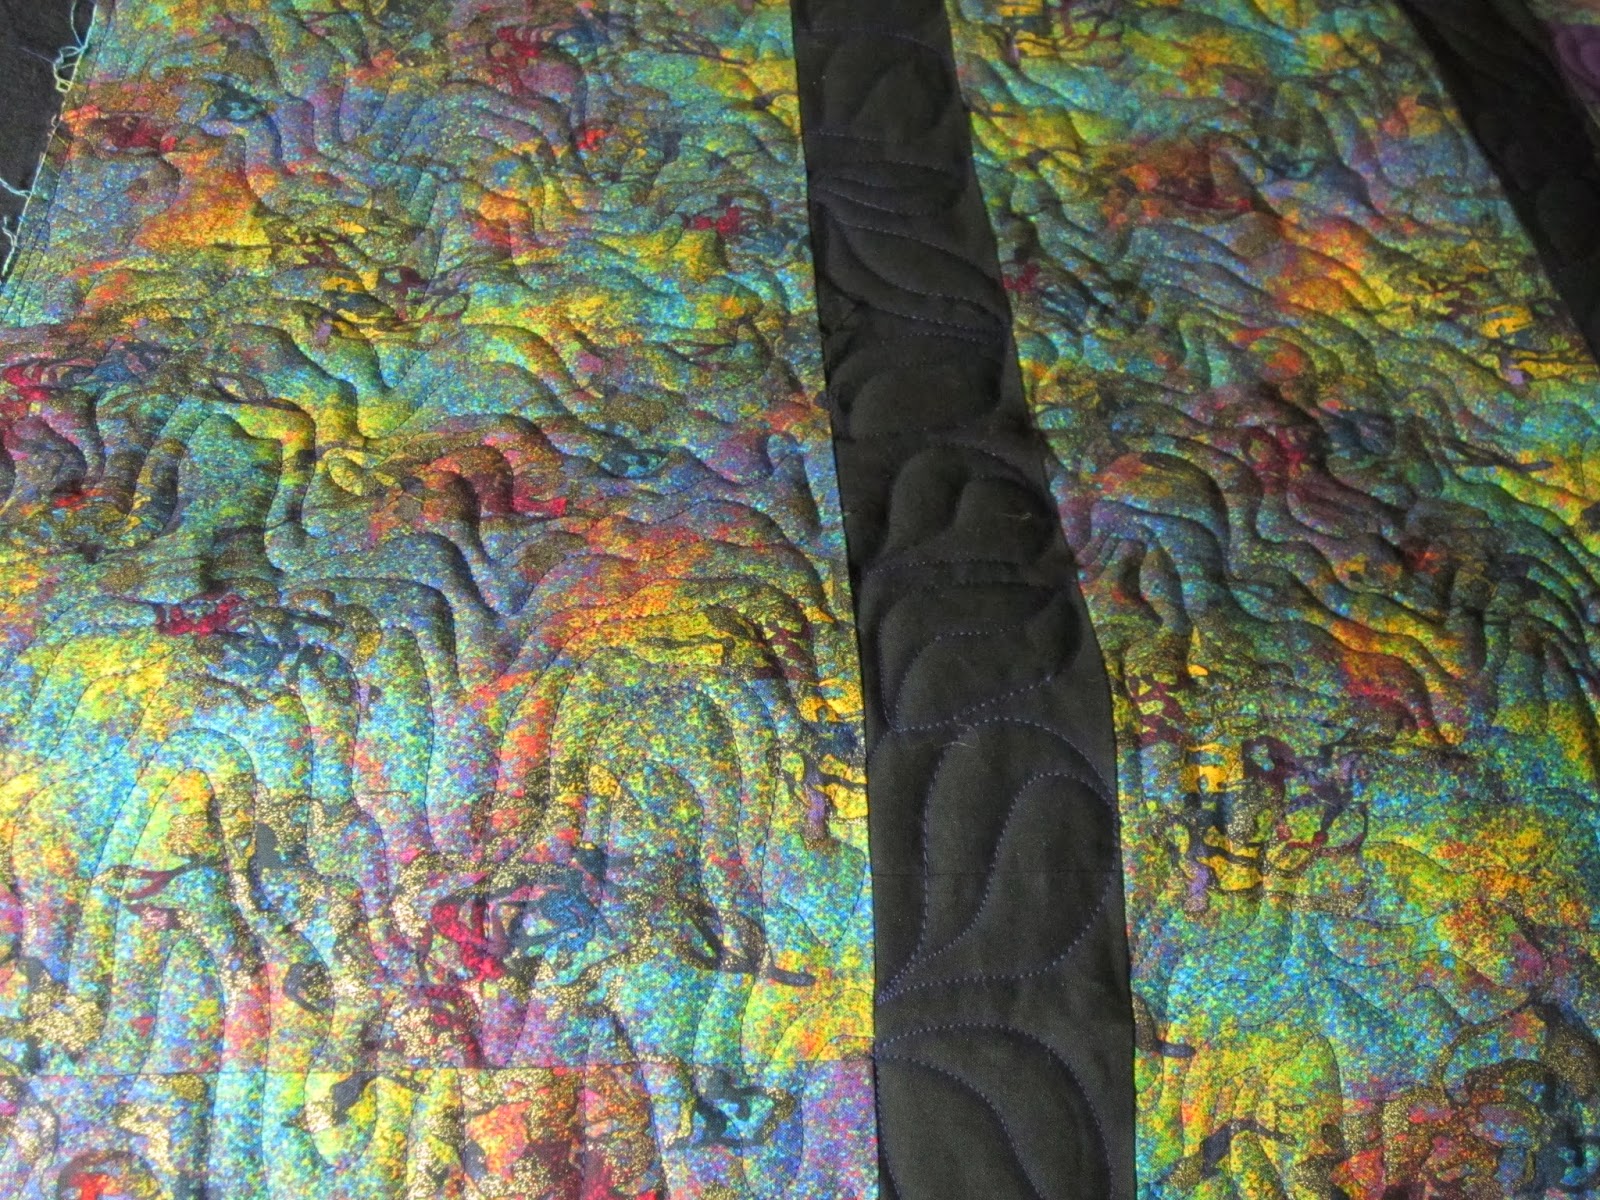
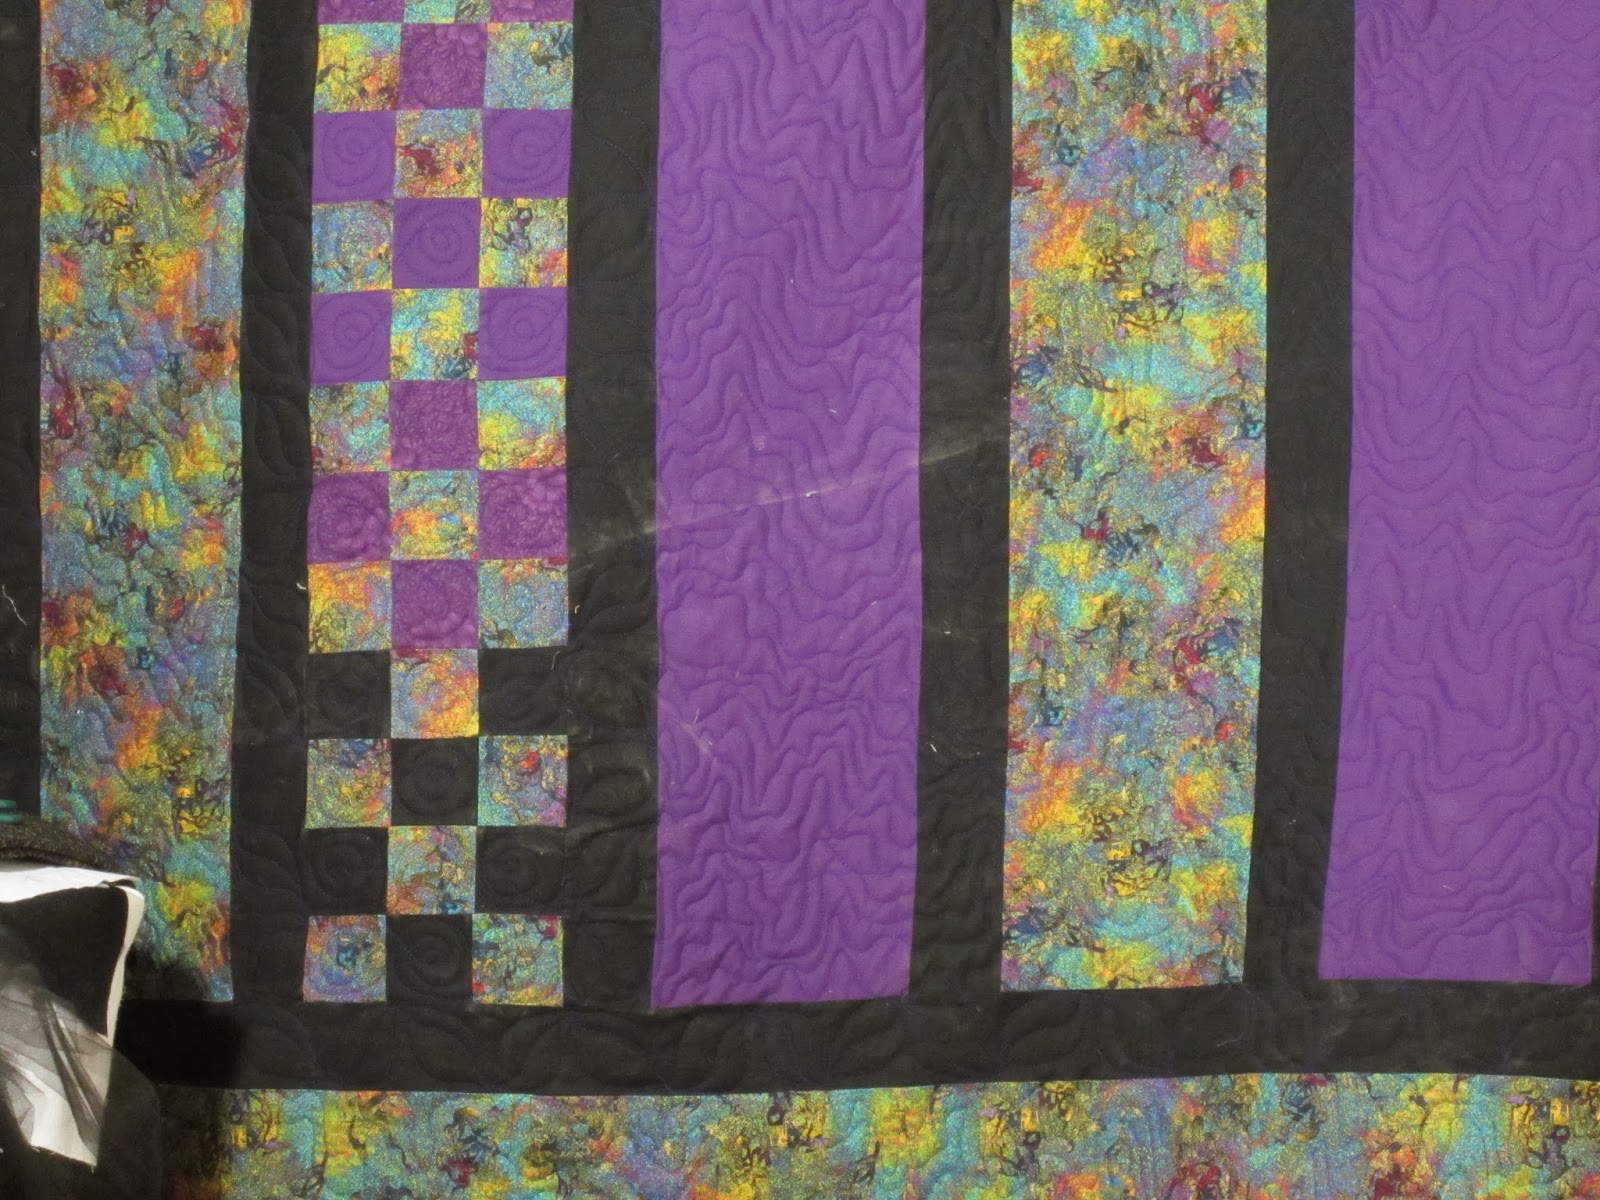
We went with
the semi-custom, and I’m really glad because it enhances the modern feel of the
quilt. I quilted random-sized pebbles in the background:
an oval meander
in the rectangles and a straight line just outside the skinny strips to separate
and bring them forward:
Details
·
Size - 58x59
·
Thread - Omni
black walnut and Omni mahogany; So Fine buffalo in the bobbin
·
Batting- Hobbs
black 80/20
·
Backing - same as
the background fabric
Strategy
·
Used
Omni thread which is thicker than So Fine so the quilting showed a little more.
·
Used
So Fine in the bobbin – waaaayy less bobbin changes and the color worked with both top
threads.
· Loaded
the quilt so the rectangles ran parallel to the Longarm table. Then I could
quilt across the background, change the thread and quilt inside a row of
rectangles, change thread and quilt more background, roll the quilt and repeat.
Thanks to Susan for letting me quilt her cool modern quilt top. ;) I love this quilt!